Setup WPAD / PAC
PAC
Introduction
OPNsense supports generating PAC files to provide automatic proxy configuration files to clients. For example if your web GUI is running at http://192.168.0.1/, your PAC URL will be http://192.168.0.1/wpad.dat.
In Firefox you can configure your proxy using PAC by the following steps manually:
Click the menu Icon and open “Settings”
Scroll down to “Network Proxy” and click “Settings”
Check “Automatic Proxy Configuration Address”
Enter the URL of the PAC file like mentioned in the paragraph above into the text field and click “OK”
Warning
Your browser may be unable to connect to the internet if the PAC file is not available. This type of configuration is not recommended on mobile devices like laptops if employees can use the devices for home office. For such devices WPAD should be used.
Configuring PAC
First Step: Creating Matches
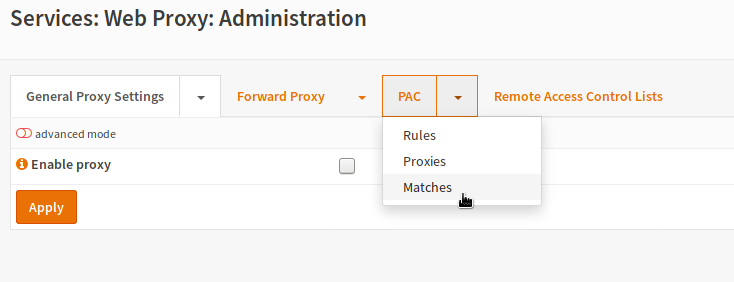
Go to and open Match
Enter a name for the match and an optional description. Then choose what to match on. In our example we want to achieve that hostnames without a FQDN (like server01) and also our internal domain (example.com) will be excluded from the proxy.
Name |
A unique name for the match to call it from rules. |
Description |
A short description for your own reference. |
Negate |
Inverts the match (any that does not match) |
Match Type |
Choose what you want to match on |
The rest of the fields depend on the used Match Type. For example if we match on “Plain Hostname”, we do not need any additional parameters.
The match “Plain Hostname means no dots inside the domain so if we want to create a fqdn match, we can simply invert this:
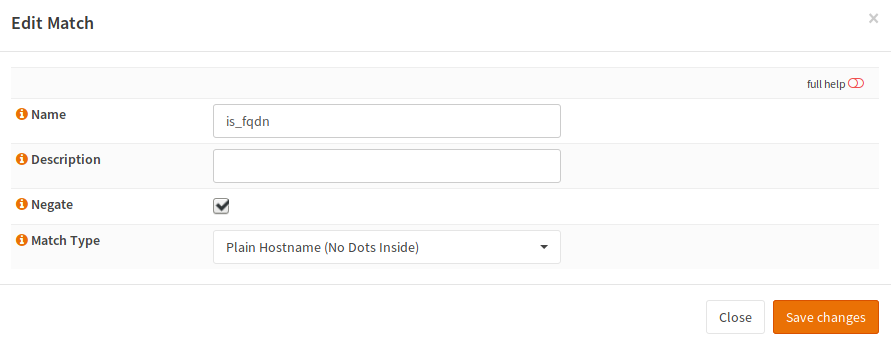
Name |
is_fqdn |
Description |
can stay empty |
Negate |
checked |
Match Type |
Plain Hostname |
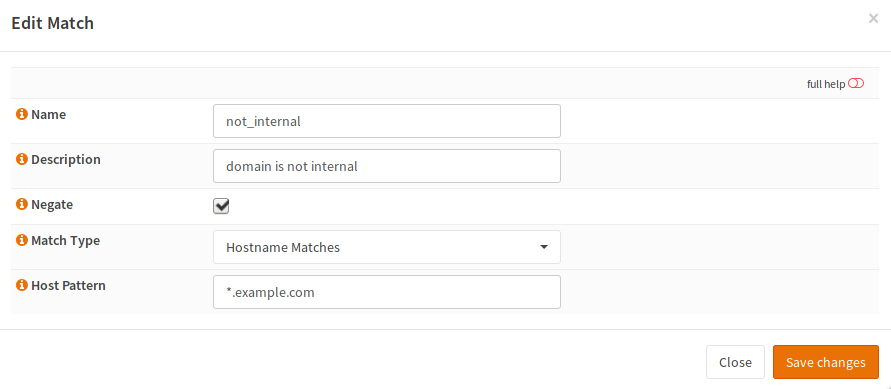
Name |
not_internal |
Description |
can stay empty |
Negate |
checked |
Match Type |
Hostname matches |
Host Pattern |
Wildcard for your internal domain |
Second Step: Create Proxy Servers
Now switch to and add new proxy servers.
Name |
Enter a name which will be shown at the rules view for selection |
Description |
You can add an optional description for this proxy |
Proxy Type |
Enter a Proxy type or DIRECT if no proxy should be used |
URL |
Enter the Proxy URL unless DIRECT has been chosen |
In this case it is assumed that only a single LAN and a DMZ exists and that internal connections should not run over the proxy. To make meaningful rules, we need two possible return values:
The LAN Proxy
No Proxy
No proxy is quite simple to configure:
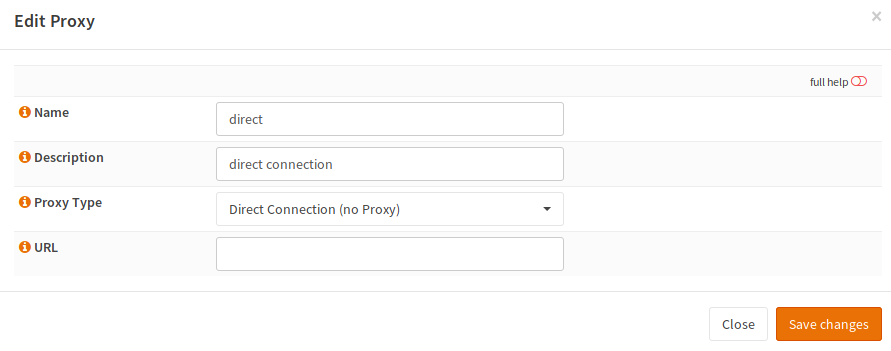
Name |
direct |
Description |
can stay empty |
Proxy Type |
Direct Connection |
URL |
empty |
For outgoing connections we need the proxy:

Name |
lan_proxy |
Description |
can stay empty |
Proxy Type |
Proxy |
URL |
Proxy IP + ‘:’ + Proxy Port |
Third Step: Create Rules
Now as the matches and the proxies exist, rules can be built. For that, switching to is required.
Now the following rule needs to be created:

Enabled |
checked |
Description |
a description for your reference |
Matches |
the two previously created matches |
Join Type |
And |
Match Type |
If |
Proxies |
Select the LAN proxy |
Click the orange reload button and you are done.
WPAD
Web Proxy Auto Discovery is used to find the PAC file for the domain.
Using DNS (Unbound)
Variant 1: Automatic Configuration
Warning
When you use this option, the wpad hosts and the TXT records for the domain will be overridden. This may break some other records like TXT records for SPF for this particular domain.
In Unbound, you can simply check the following checkbox:

This will define the host records of any domain configured in DHCP as CNAME for your firewall host. It will also override TXT records resolve to the URL to the PAC file.
Variant 2: Manual Configuration
Warning
When DNS is used, OPNsense must respond via HTTP on port 80.
Open the page and add a new host override for the wpad host:
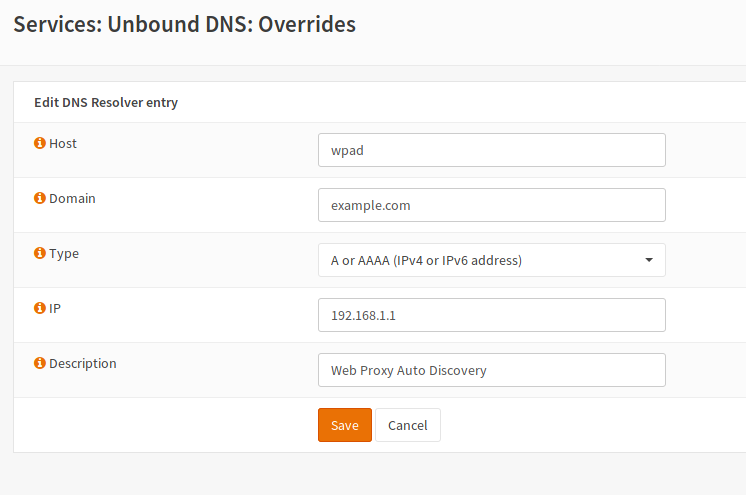
Host |
wpad |
Domain |
your domain |
Type |
A or AAAA |
IP |
IP of your OPNsense (where the Web interface is reachable |
Description |
can stay empty |
Save the settings and apply the changes.
Using DHCP
Variant 1: Automatic Configuration
In the DHCP server settings, you can check the following checkbox:

In this case, an entry for the protocol and the port of the web interface will be created with the domain you choose in your system settings (domain of the firewall). The hostname is wpad. If you are running the OPNsense web interface on port 80 with HTTP. The following URL will be created:
Warning
If you have HTTP Redirect enabled via , make sure your browser accepts the certificate presented by OPNsense, as it won’t download wpad.dat if the certificate is untrusted.
Variant 2: Manual Configuration
Open the page , select the correct interface and scroll down to the “Additional Options”.
Add this line and save:

Number |
252 |
Type |
String |
Value |
PAC file URL enclosed in double quotes |
Firefox Configuration
Open Settings Menu
First, the settings menu must be opened. There are two ways. You can either
first click Edit
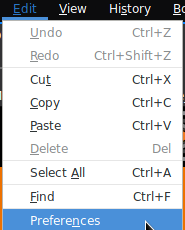
then click Preferences or you can also
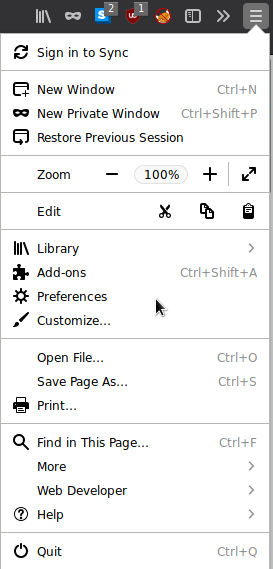
click the menu icon and then click Preferences.
Configure Proxy

Then scroll down to the bottom of the page and click Settings in the Network Proxy settings.
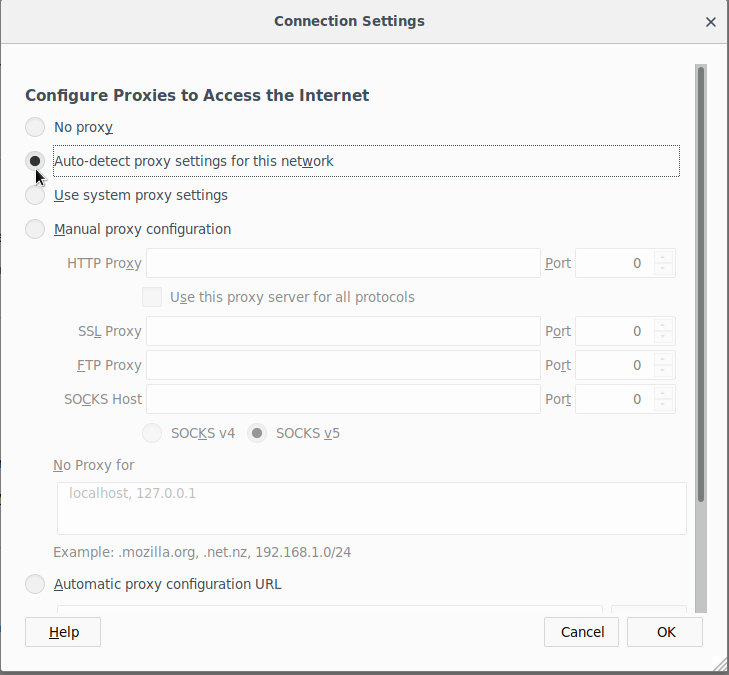
In the newly opened window, you can setup your proxy settings. If you want to force Firefox to use WPAD/PAC, choose Auto-detect proxy settings for this Network. Click save and you are done.