How To: Setting Up A Mail Gateway
Warning
A mail gateway under high load may need a lot of memory and CPU power. Keep in mind that the components have some hardware requirements like the ClamAV- and the Redis plugin. It is not recommended to run this software on weak hardware.
Installation
First of all, you have to install the required plugins from the plugins view.

The required plugins are:
ClamAV
Postfix
Redis
Rspamd
After a page reload you will get some new menu entry under services for all installed plugins.
Configuration Of The Plugins
2. Redis (optional but recommended)
In the next step, we need to install the Redis database. Redis is required for caching and for some features of the rspamd plugin.
Warning
If you don’t set up a Redis instance, some components of rspamd will automatically disable themself silently and it will not be visible in the GUI.
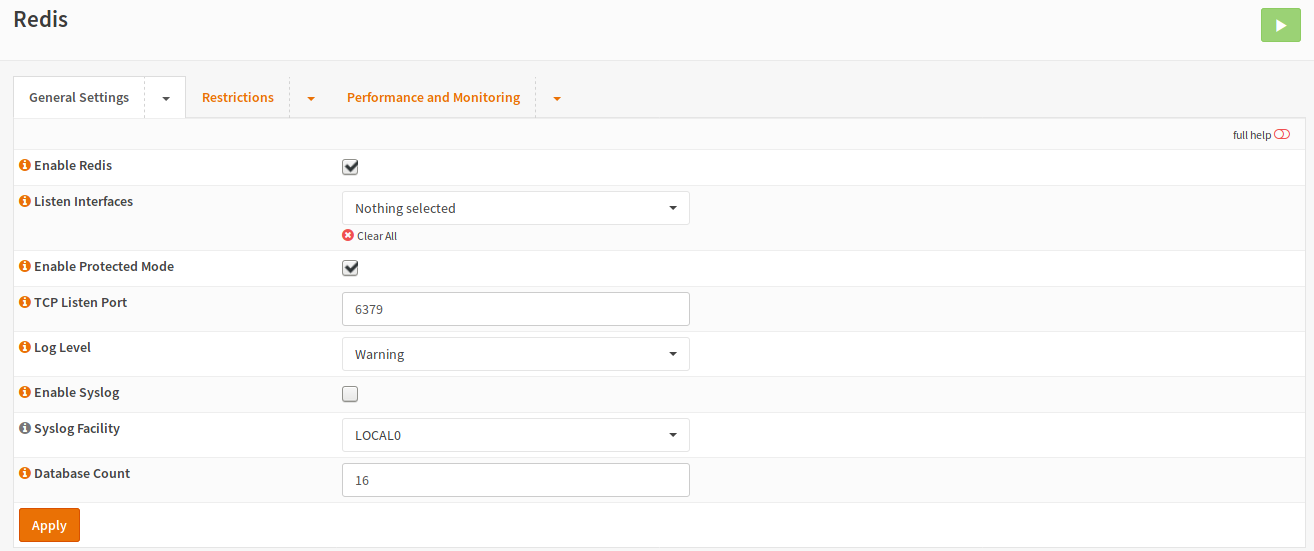
For a basic Redis instance, you can just check Enable Redis and click Apply to start the servers.
3. Rspamd
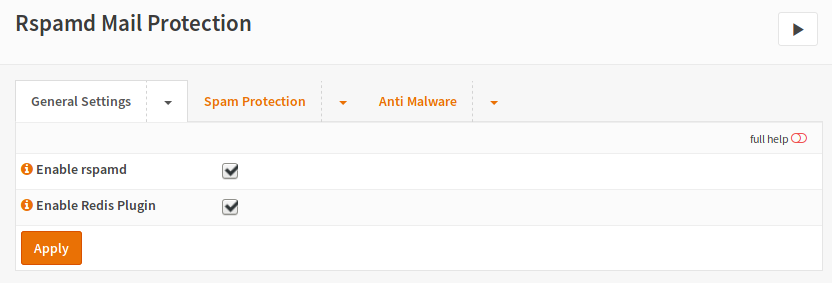
First of all, you will need to activate the plugin by checking the Enable rspamd checkbox. If you have installed and configured the Redis plugin, you should check the second checkbox as well.
If you are ready, rspamd should be up and running.
Now you should configure the rspamd modules you need.
Note
The ClamAV component does enable or disable itself automatically if it has been configured depending on the ClamAV (clamd) configuration.
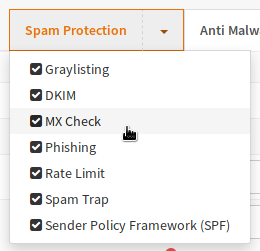
For example, if the MX should be checked, the menu for the Spam Protection:
After a click, you will see the form:
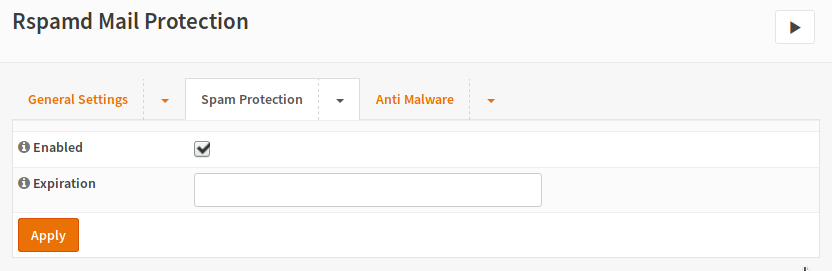
In this case the configuration is quite simple: Check Enabled, add a cache expiration time (in Seconds) as well as clicking at the Apply button.
Postfix
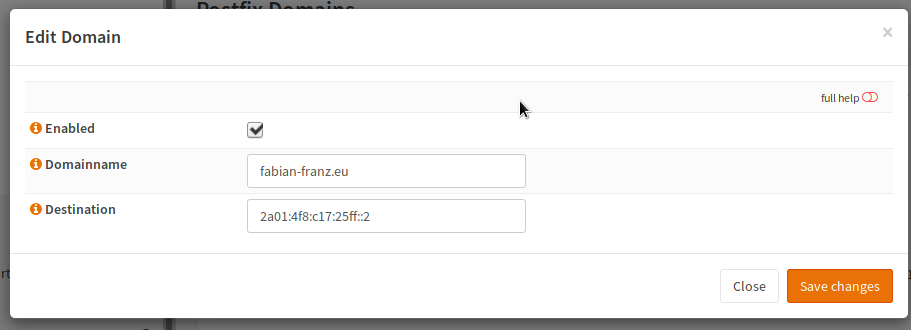
First of all, you need to configure the domains you want to forward in the Domains menu.
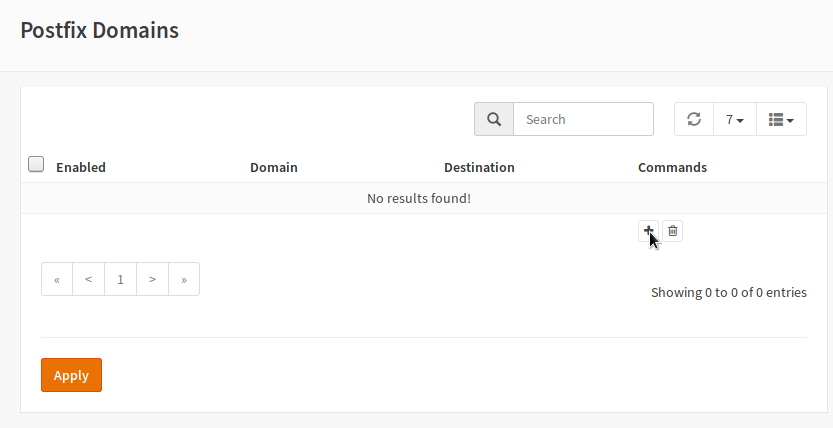
Enter the values for your mail server in the dialog after clicking +:
After saving usually the apply button needs to be hit but the server is not running anyway as it needs to be configured first. If you add new domains, you have to hit this button to apply changes.
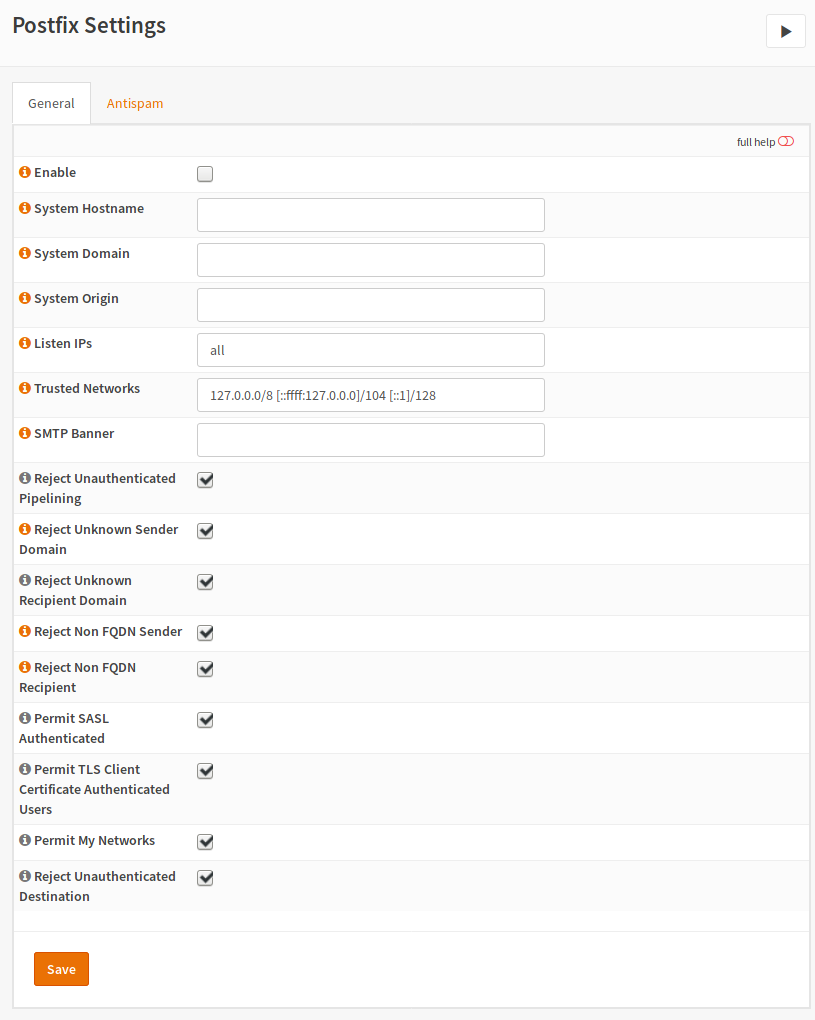
In the General tab, the Postfix service must be enabled. If your system settings differ from your system settings, you may override them here. For example overriding the hostname makes sense because you may want to use the hostname which has been configured as the MX host in the DNS.
You should keep the checkboxes at the bottom enabled as they enable restrictions, which provide an additional layer of security.
Save the changes and switch to Antispam tab.
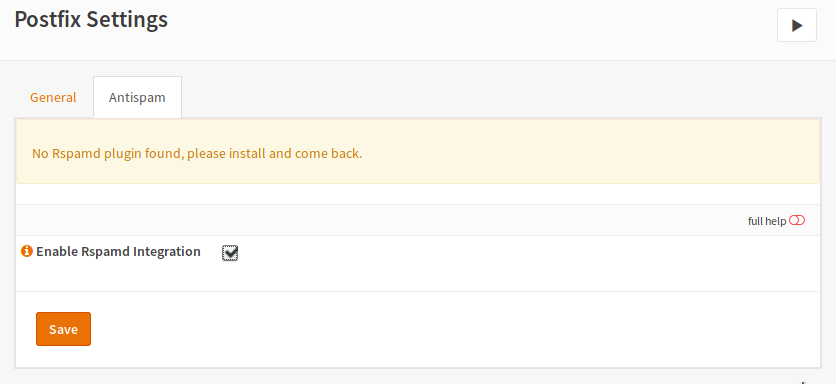
Enable the Checkbox and click Save.
Follow Up Tasks
In the next step, you should go to the Firewall menu. Create a new rule to pass port TCP/25 traffic from Any to This Firewall.