FreeRADIUS
Installation
First of all, you have to install the FreeRADIUS plugin (os-freeradius) from the plugins view.

After a page reload you will get a new menu entry under services for FreeRADIUS. Select and a submenu will pop up with the entries General, User and Client:
General Settings
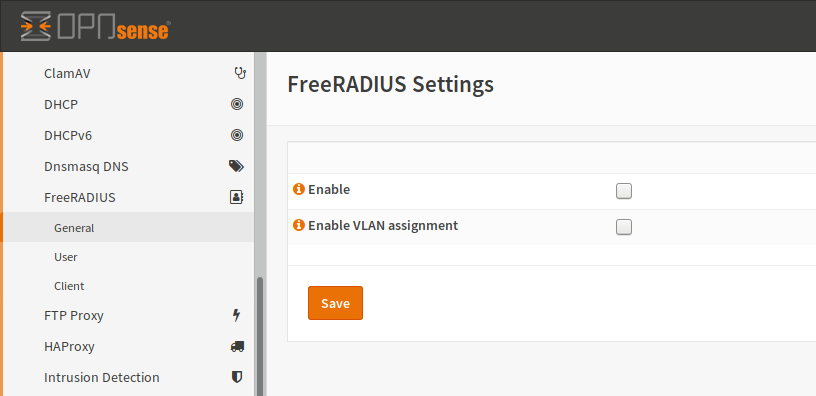
- Enable
To enable the service, you have to check this box.
- Enable VLAN assignment
If you check this box, the RADIUS packets will have some unencrypted tags for the network device to allow dynamic VLAN assignment. In this case, the authentication is still encrypted but some metadata will be readable. You need to enable this checkbox, if you want to set a VLAN on a switchport, which depends on the authenticated user.
Users
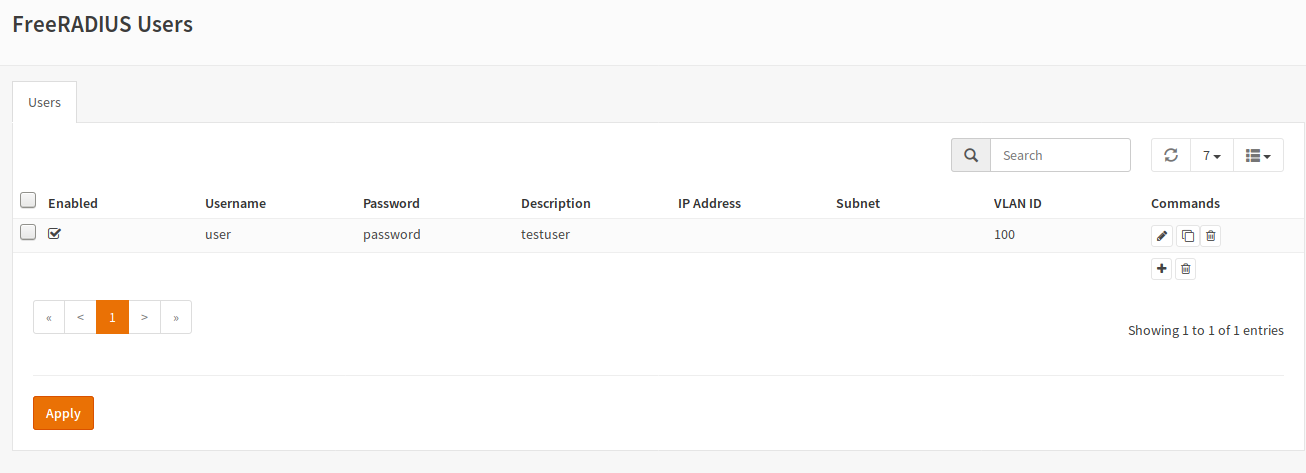
A user is an entity, which is meant to authenticate against the RADIUS server (computer or human).
To create a user, click the + button.
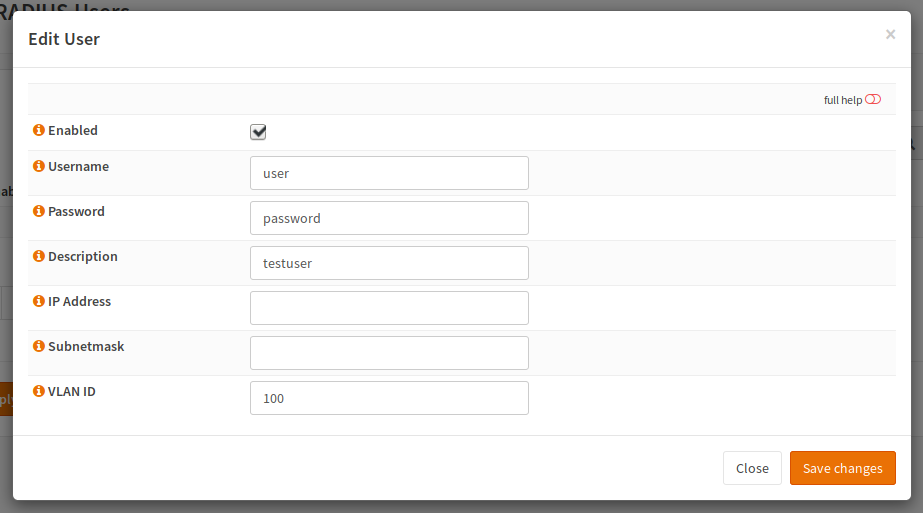
- Enabled
This user will be written to disk and can be used. You can toggle this value to temporary disable users.
- Username
The name which the user will use to authenticate.
- Password
The password the user will use to authenticate.
- Description
Internal information for you to use to find the user. This setting can be used to add some infos like a department.
- IP Address and Subnetmask
If you want to use FreeRADIUS for point to point links, you can add an IP address here which will be assigned to the client. The same is valid for Subnetmask.
- VLAN ID
A layer 2 device like a switch, which supports 802.1X authentication can use this Field to dynamically assign an VLAN number to a switchport based on the authentication result. This is especially useful if you are having moving users (for example if an employee can attach his computer to a docking station at a desk and the switch will assign the VLAN ID of the employee to the switchport. Be aware that the Layer 2 device has to be able to read this information, which means that you have to enable corresponding option in General
Clients
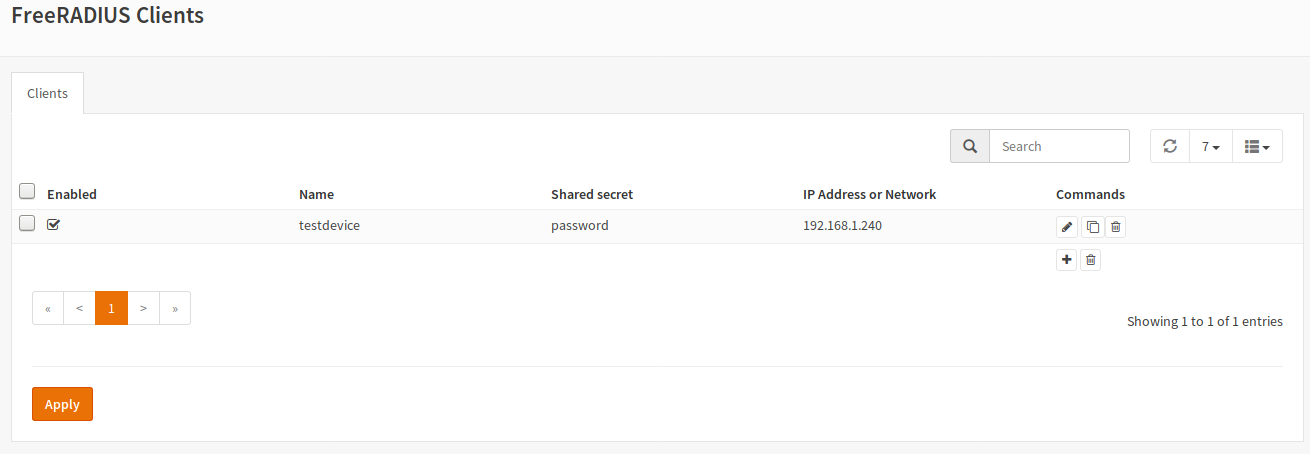
A client in RADIUS is a intermediate device / network device like a VPN gateway, a switch or an access point.
To create a new client, click the + button:
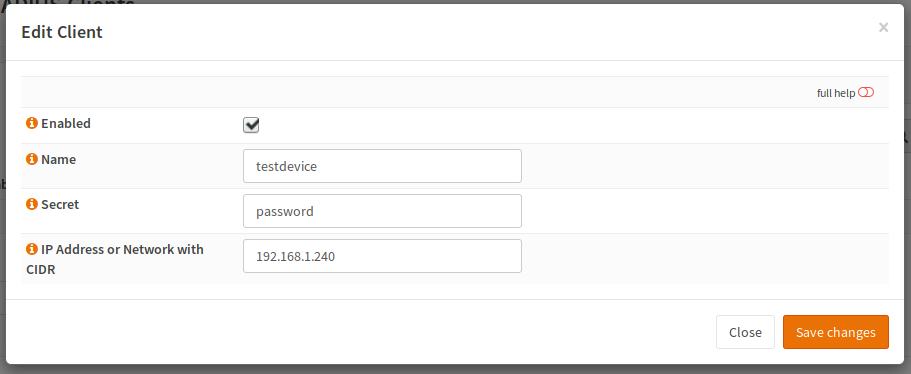
- Enabled
This client will be written to disk and can be used. You can toggle this value to temporary disable clients.
- Name
A name used for the client.
- Secret
The secret is used to provide a trust relationship between the client and the FreeRADIUS server. This password should be strong as you only have to type it twice (once in the FreeRADIUS configuration and once in your client configuration) or even copy it. If the passwords do not match, FreeRADIUS will reject all attempts to authenticate.
- IP Address or Network with CIDR
This is the IP address of the Client (not the authenticating device). For example this could be the IP address of your switch.