nginx: TLS Fingerprints
Warning
This manual page is for advanced users only as the feature is not designed to be used by beginners. Maybe the curves are not provided by the TLS implementation and you get an empty string. If this is the case, it is normal but you should expect trouble if you use them as a later version of the software may implement them and then all your connections will be flagged as intercepted.
Requirements
To use this feature, you must have an HTTPS server running which writes some logs.
Different browsers from different operating systems as clients
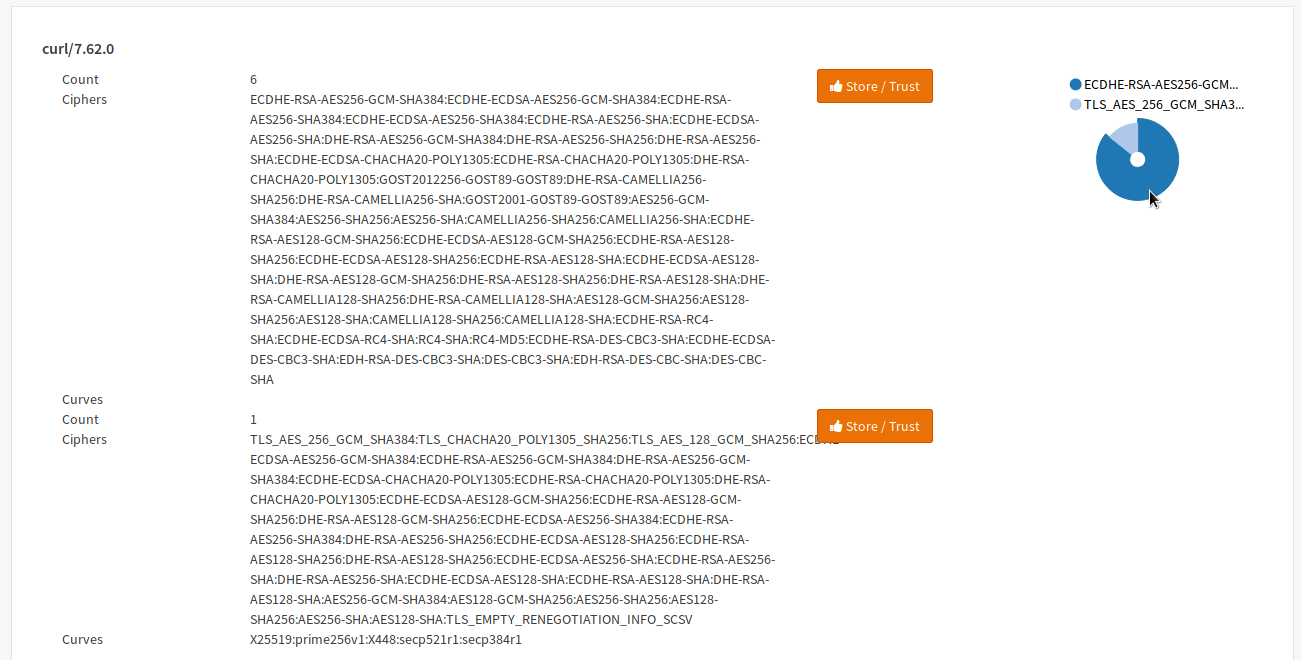
Analysis Page
The analysis page is grouped into some sections:
Color |
Description |
|---|---|
Orange |
User-Agent string (HTTP-Header) - technical description of the client |
Red |
Total count of hits in the log of the UA with this ciphers and curves |
Blue |
Supported Ciphers and Curves in order of the Client hello - our fingerprint |
Green |
If you click this button, you can take the fingerprint over to the configuration |
Gray |
Pie chart of the fingerprints count and the User-Agent (visualized) |
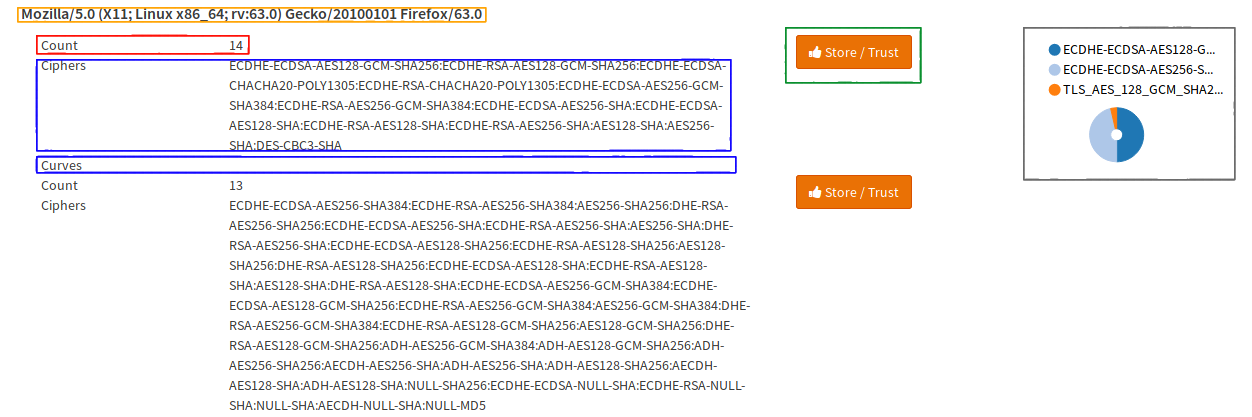
The pie chart is important to know if a fingerprint is intercepted because many intercepting software changes the client hello. Let’s take a look at this one:
There is one small one, which we probably can ignore, so lets look at the other two fingerprints: One contains ciphers, hashes etc., browsers should not support anymore (for example NULL, MD5, …) so this is probably intercepted (it actually is OWASP ZAP 2.7.0) in this screenshot, which is intercepting a connection from Firefox 63. In this case there is only one big segment left, which is very likely the real browser fingerprint (or another proxy).
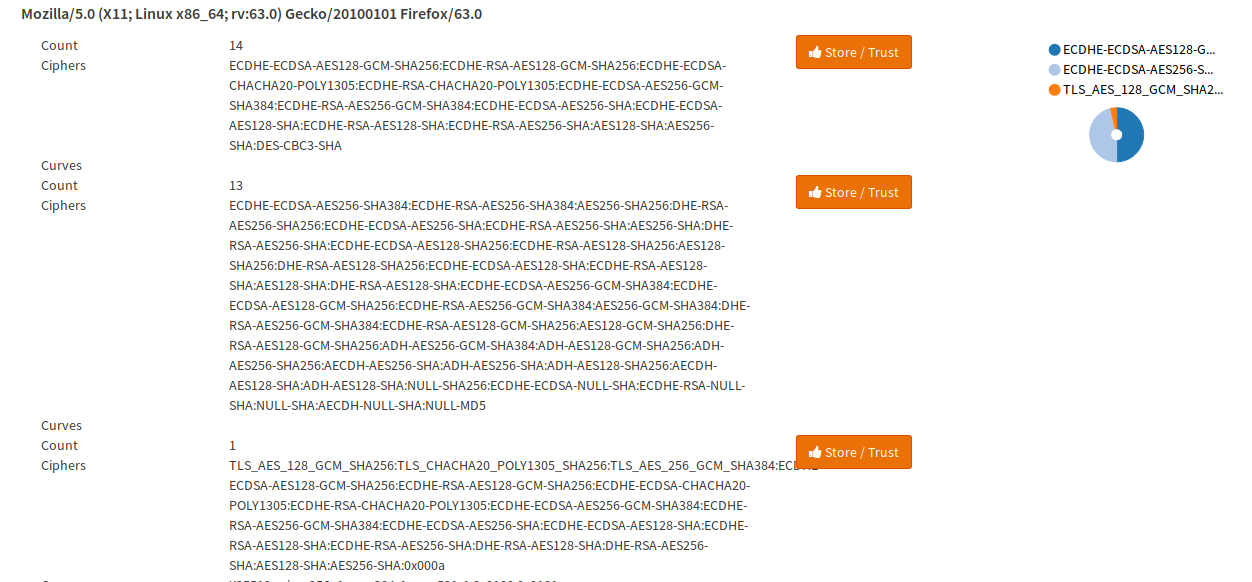
In the following example, take a look at the pie chart (especially the segment with the cursor on it):
The segment has a huge share of the requests with this User-Agent. In such a case it can be either always the same client requesting a resource and probably only few users are using it or, which is more likely if it is a browser, it that it is probably the right fingerprint.
Warning
Some proxies are mirroring the client hello, so they won’t be detected. Also be careful because for example if you have a big customer generating a lot of traffic, a big segment of the pie chart (even the biggest one), may be intercepted.
For security reasons you should also take the absolute count into account when you are working on a real world sample and that software may be compiled width different which may also replace the crypto library which also means that it will have a different fingerprint.
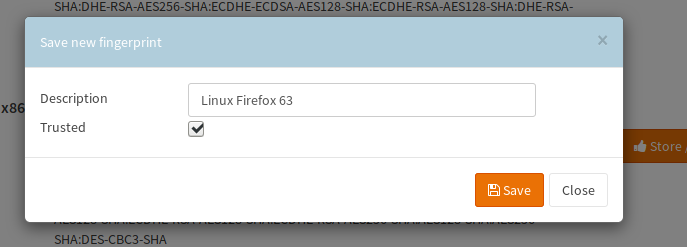
If you click on the store button, a dialog will open and you can create a new entry in your configuration, which will be visible on the configuration page.
For example, our fingerprint could be imported into the configuration like shown in the following screenshot:
Configuration Page
Now in the configuration page under there will be an entry for the created fingerprint, so it can be edited:
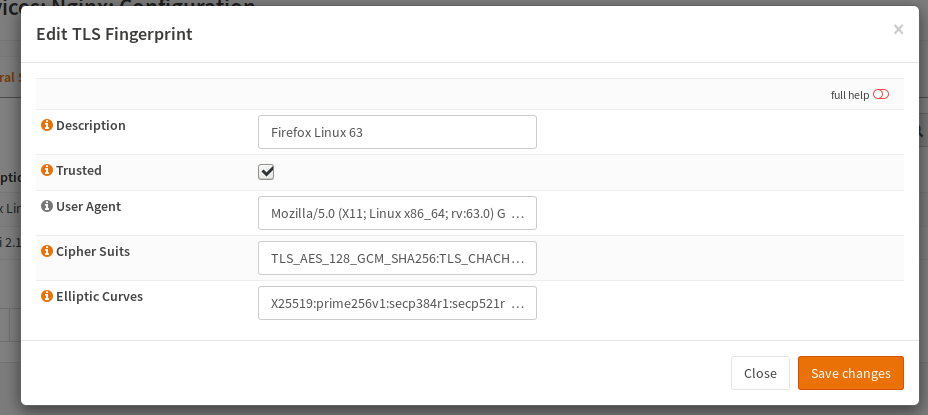
Trusted Fingerprints
A trusted fingerprint is a fingerprint, which will be used to detect man in the middle attacks by comparing the client hello of the fingerprint with the data sent by the client. If there are additional ciphers or curves, you will get this information via an HTTP header into your application. Please note that you can have only one fingerprint per User-Agent.