nginx: Basic Load Balancing
1) Create Upstream Servers
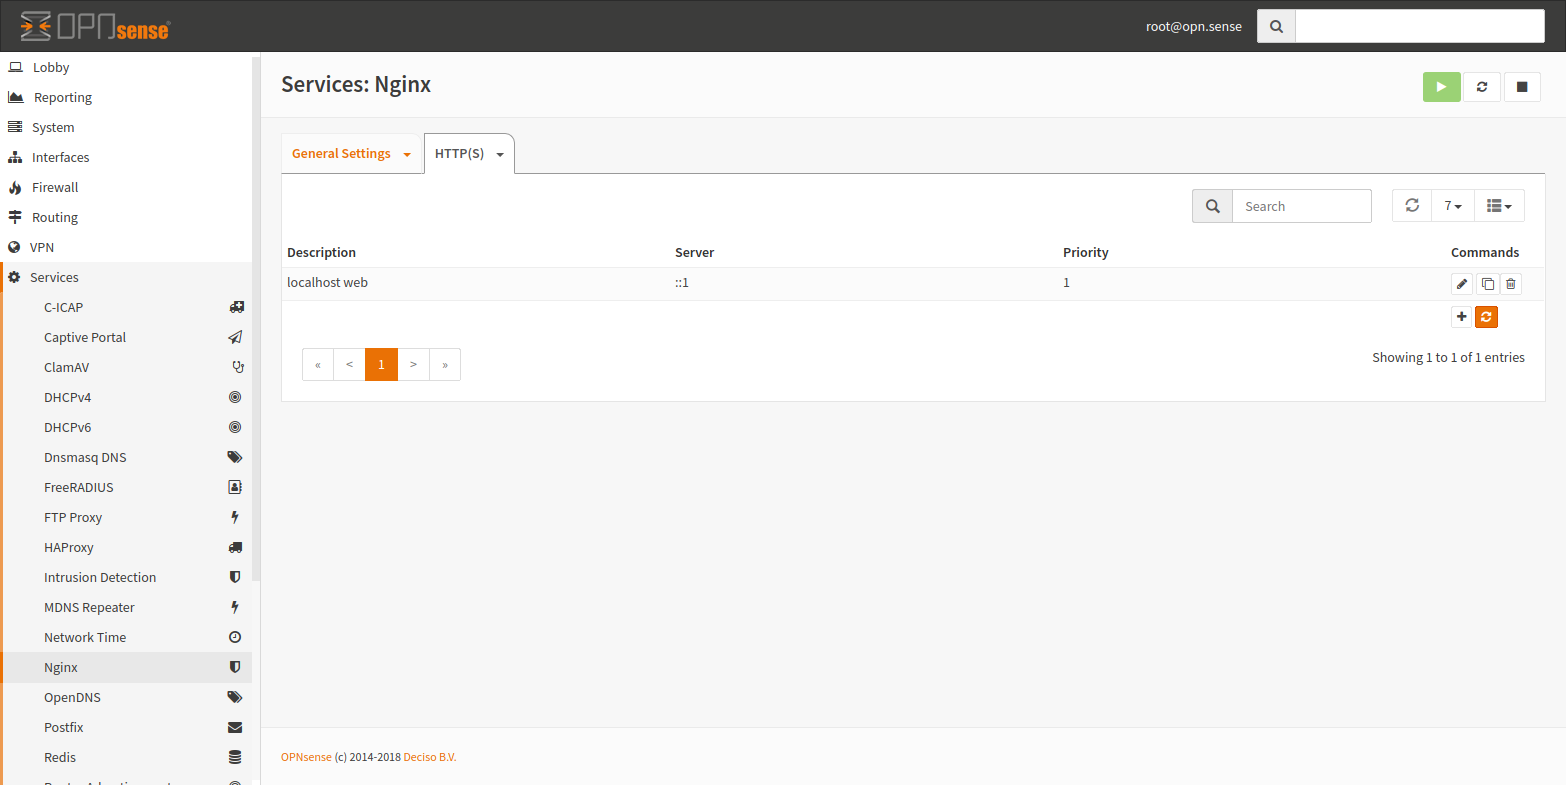
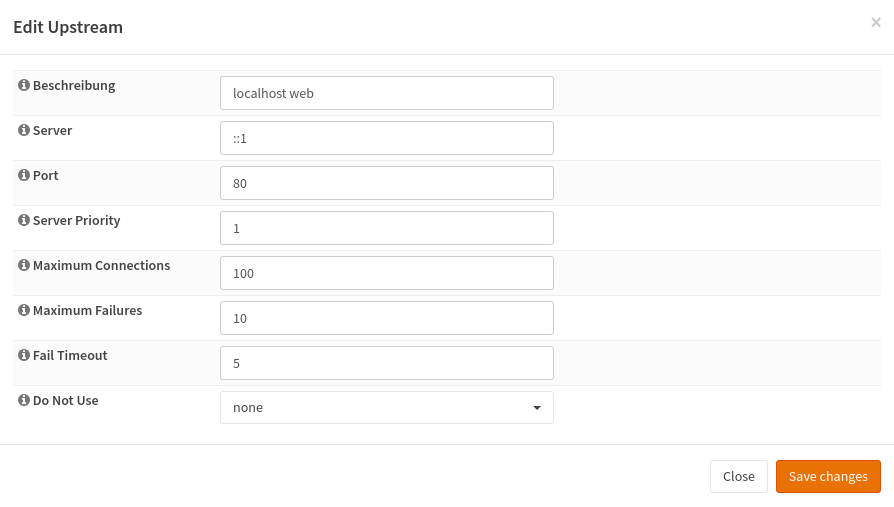
Create a server with a description and IP of the server. The priority is not important if you have a single server. It is used as a weight for round robin. Servers with a higher weight will receive more traffic.
2) Create An Upstream
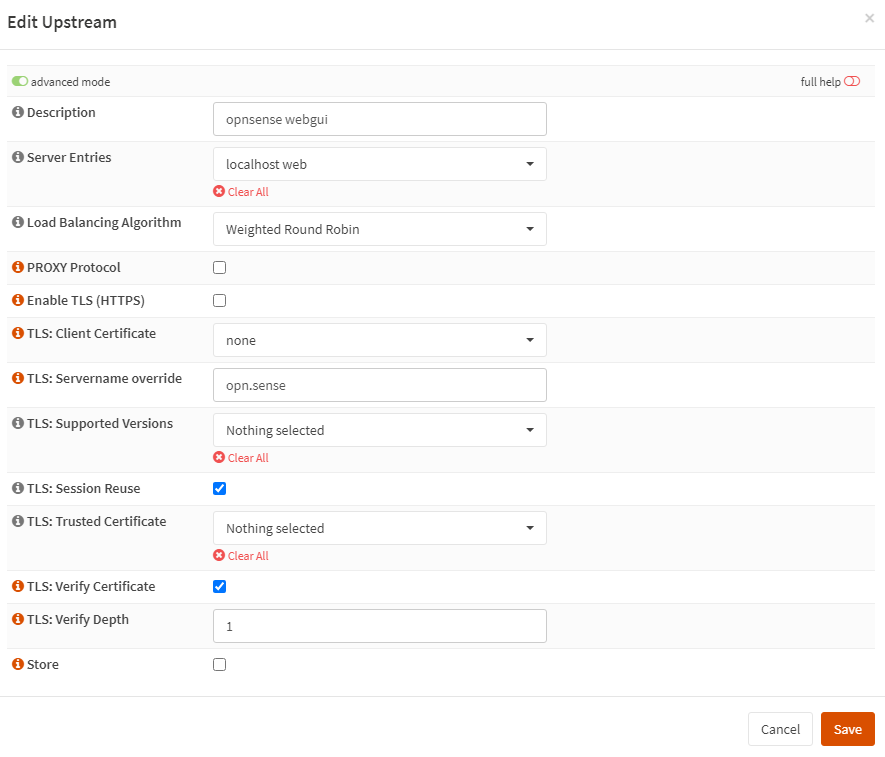
Group upstream servers to an upstream. An upstream is a group of servers to load balance between. Give it a useful name and choose the previously created server.
Warning
Upstream verification is enabled by default (TLS: Verify Certificate checkbox). Server names in the upstream certificate are compared with the name in the TLS: Servername override field. For successful verification, it is necessary that OPNsense trusts the certificate of the certification authority that issued the upstreams certificate. You can further restrict the list of trusted CA’s in the TLS: Trusted Certificate field.
3) Create A Location
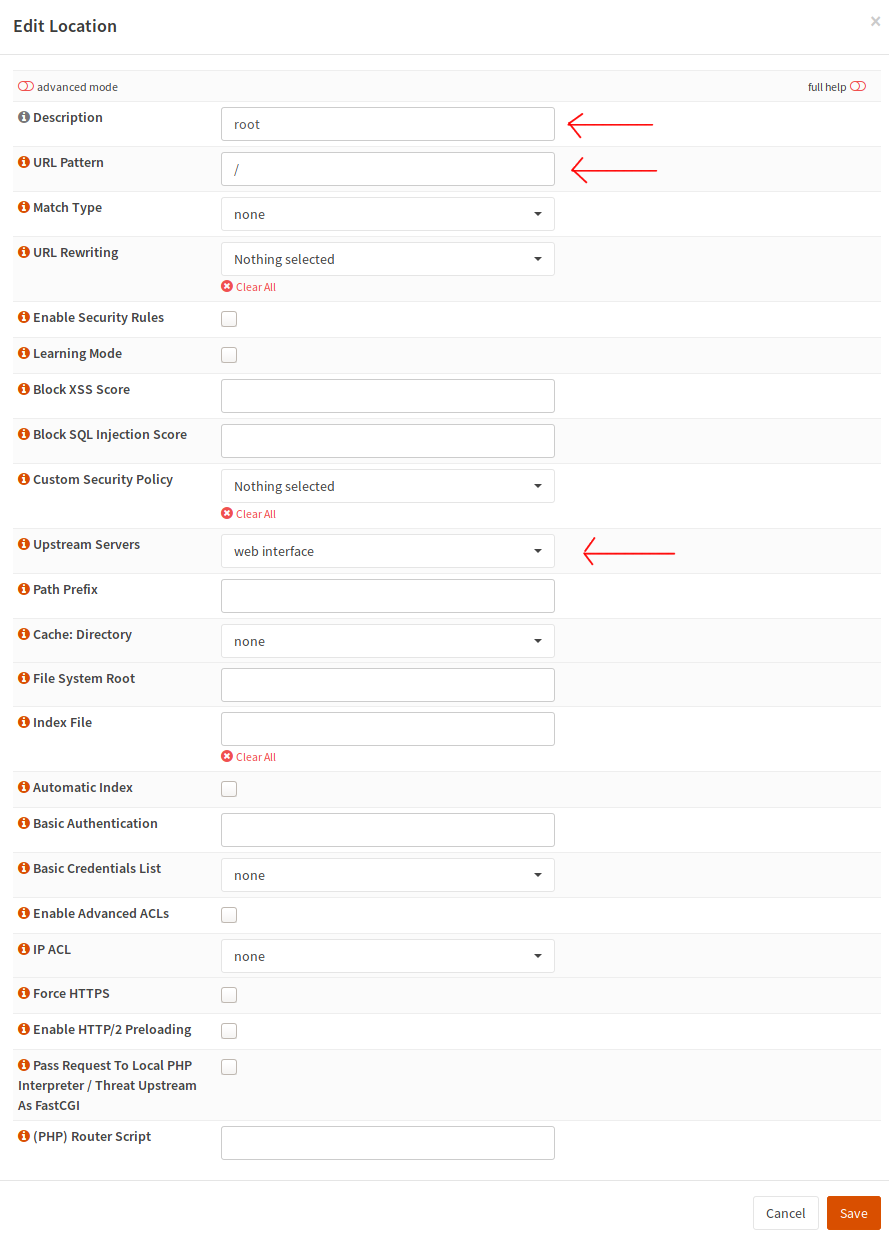
Locations are used to map URLs to upstreams, directories, settings and so on. In our case we want to proxy the request to the previously created upstream. If we want to match everything, we use “/” without a special matcher. Now save the location.
4) Create A HTTP Server
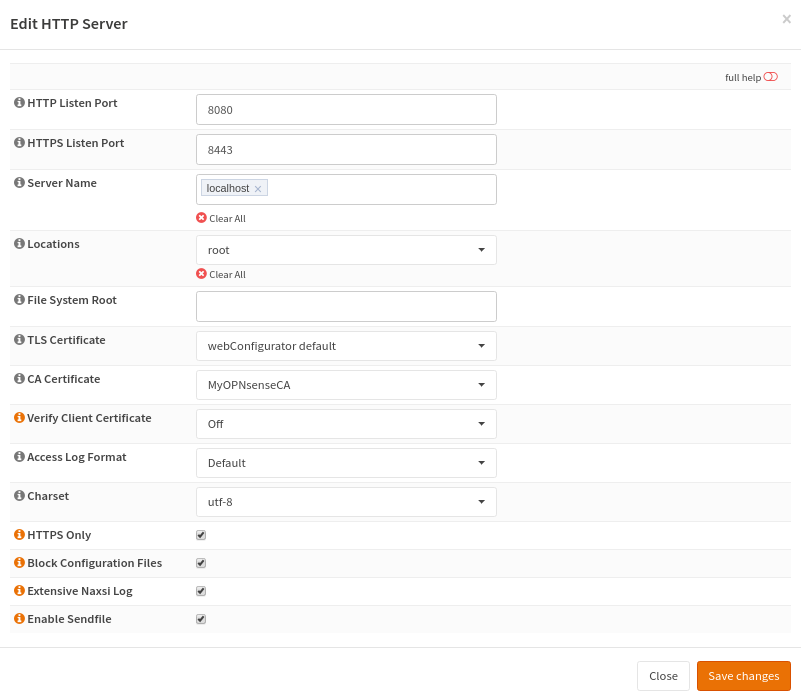
In the last step, we have to create a port. This happens in a “http” block, which contains some basic configuration and the location blocks.
Enter the domain name into the “Server Name” field and select the previously created location. If you want to use support TLS, you have to add a certificate.
5) Restart nginx

Click the reload button and you are done. You may need to open some ports in the firewall if you have not done that yet. Since you are directly on the firewall, There is no need to use NAT similar workaround.