Local Users & Groups
With the local user manager in OPNsense one can add users and groups and define the privileges for granting access to certain parts of the GUI (Web Configurator).
Adding Users
To add a new user go to and click on the + sign at the bottom right corner of the form.
Defined By |
information |
Shows the source of the user, read only information |
uid |
information |
Autogenerated internal user number |
Disabled |
Unchecked |
Can be used to (temporarily) disable an account |
Username |
John |
A unique username |
Password |
secret |
A strong password |
Scrambled Password |
Generate a scrambled password to prevent local database logins for this user. |
|
Full name |
John Doe |
Optional, Full username, for reference only |
Optional, users email, for reference only |
||
Comment |
Optional, comment field, for reference only |
|
Preferred landing page |
ui/page |
Optional, landing page to visit after login |
Language |
Default |
Language to use for this user |
Login shell |
/bin/csh |
The shell to use when logging in via the console. |
Expiration date |
Optional, if account should expire enter as mm/dd/yyy |
|
Group Membership |
Optional, select one or more groups |
|
Effective Privileges |
Optional, additional grants for this user, usually these are being handled via a group |
|
OTP seed |
Optional, enter or generate a OTP seed (base32) |
|
Authorized keys |
Optional, paste ssh key for ssh console access |
Tip
Although there is no direct relation between users and certificates, one can search the trust store directly for certificates using the same common name as the user name. The button can be used in that case.Tip
To support migrations, it is possible to bulk-export and import users into the local database. Use the button to receive a formatted csv file, which can be imported using the button. Some sensitive fields (like passwords) are not included in this procedure.Creating and maintaining API keys
Each user can have api keys for machine to machine communication, to create these use the button in the grid, which downloads a new key/secret file.The assigned keys can be found in the “ApiKeys” tab, where you can remove keys that are no longer used.
Note
Private parts (secret) are only generated once, when lost you will have to generate a new keypair.
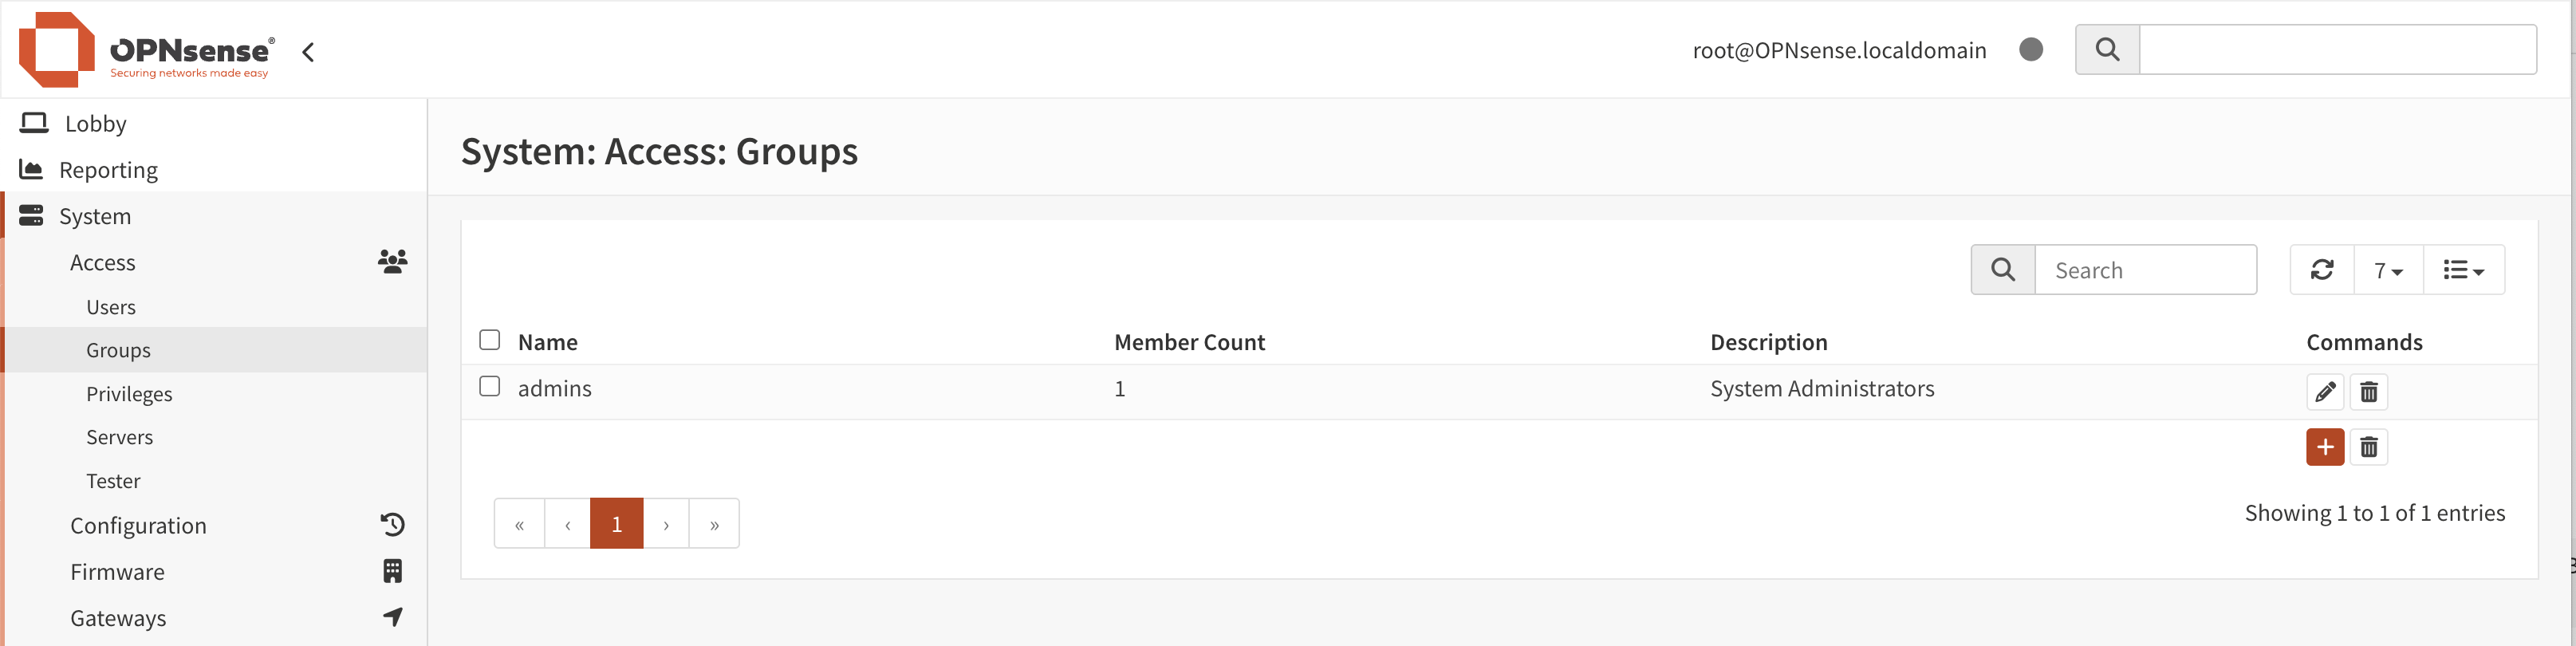
Creating Groups
Go to and click on the + sign in the lower right corner of the form.
Enter a Group name and a Description and add users to the group.
When users should access resources on this firewall via a group, connect the relevant ones via Assigned Privileges.
Validate and change privileges
The privileges page offers quick insights into the roles available and their purpose.
Each component in the same “lives” on it’s own path (endpoint), these are collected into privileges for easy access.
ID |
Internal identifier stored in the database |
Name |
The name of this privilege |
Match |
The different paths this privilege matches on |
Users |
The number of users linked directly into this privilege |
Groups |
The number of groups linked directly into this privilege |