User Portal
Preparation
In order to effectively use this module, make sure to allow users to login to OPNsense using a username and password when they are on the local network.
General
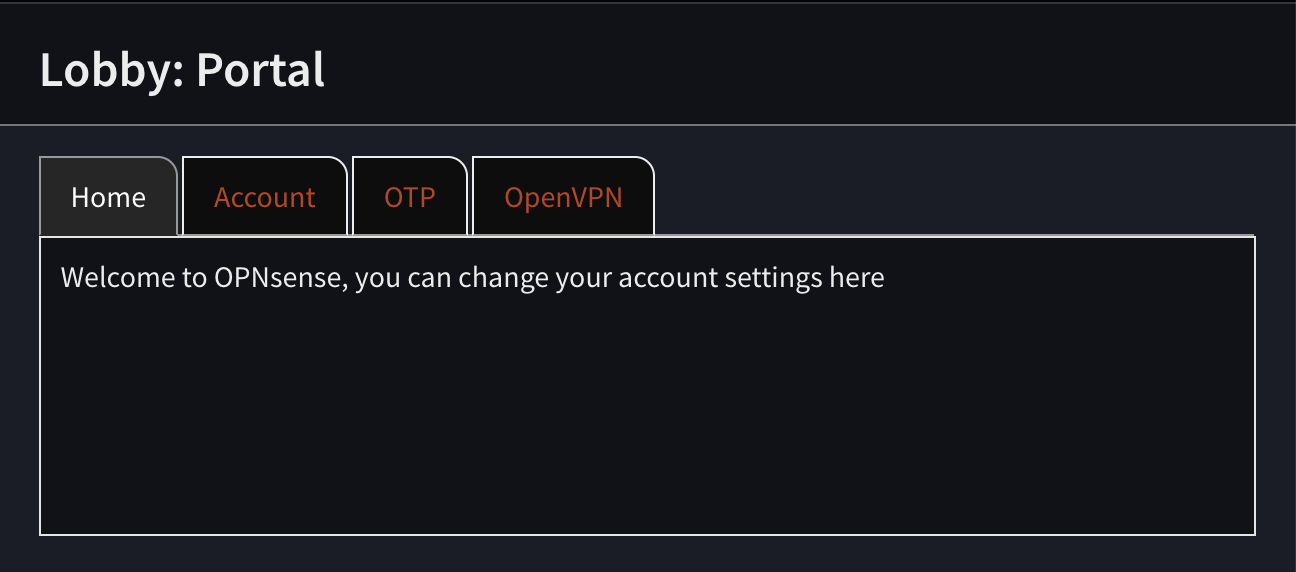
The portal replaces the simple user password menu, which can be found at and offers additional functionality for self-service support.
Depending on the configuration users are able to change their password and language here, download and re-generate one time password tokens and access OpenVPN profiles for the instances they have access to.
Note
The visible tabs depend on access rights configured in the administration part.
Administration
Under you will find the administration part of the portal, this includes generic account settings and OpenVPN instance access.
Settings
Here you will find the basic settings for the portal
Option |
Description |
|---|---|
Allow OTP token creation |
Select which group a user should be a member of to manage it’s own token |
User portal welcome message |
Welcome message (first tab content), may include html formatted text. |
OpenVPN
The OpenVPN tab shows a grid where you can add instances which a user should have access to, it contains most of the settings also available in the standard OpenVPN export module.
Option |
Description |
|---|---|
Member of |
Select which group a user should be a member of to download a profile |
Server instance |
The instance we grant access to |
Certificate lifetime (days) |
Lifetime of a certificate, after expiry the user can not login anymore |
Certificate Key type |
Type of certificate to include in the profile |
Certificate Digest Algorithm |
Digest algorithm used to generate the certificate |
Export template |
Type of file the user will download |
Hostname |
The hostname or ip address used to contact this firewall |
Enable static challenge (OTP) |
Ask the user for its one time password token separately (instead of as part the password). |
Custom config |
Custom configuration, which will be returned in the output file without modifications. |
Description |
Description shown to the user for this instance download |
Tip
If a user should be allowed to download multiple file formats for the same service, you can duplicate the entry. Simply use different descriptions per entry.
Configuration example
The following configuration outlines a pretty common business case with the following requirements:
Users should get:
an OpenVPN profile with user certificate
Two-Factor authentication with TOTP
access to a self-service portal to manage their password, OTP token and OpenVPN profile
1. Configure default groups
We will create three groups that control access to the user portal, OTP token and OpenVPN profile.
Go to and add the following groups:
Option |
Description |
|---|---|
Group name |
|
Privileges |
|
Press Save and add next
Note
This allows members to access the user portal and manage their passwords.
Option |
Description |
|---|---|
Group name |
|
Press Save and add next
Note
This group does not need any privileges, we will use it for the user portal configuration in a later step to allow members access to the OTP tokens.
Option |
Description |
|---|---|
Group name |
|
Press Save and add next
Note
This group does not need any privileges, we will use it for the user portal configuration in a later step to allow members access to the OpenVPN instance.
Tip
You can create multiple groups here, e.g., user_ovpn_priv_sales, user_ovpn_priv_admin so you can control access
to multiple OpenVPN instances.
2. Configure a user (Onboarding)
Now we need a user that will become a member of the groups we created.
Go to and add the following user:
Option |
Description |
|---|---|
Username |
|
Password |
Set a password |
Group Membership |
|
Press Save
Note
Creating a user certificate is not necessary, the user portal will automagically create one for the user when they download an OpenVPN configuration. Same goes for the OTP token which the user can create themselves.
Tip
When using an LDAP authentication server, creating users manually is not needed. Go to
and enable Automatic user creation. For Default groups, choose user_default_priv. Add the groups
user_otp_priv and user_ovpn_priv to users on the LDAP server. Please note that all groups must be created manually and share
the same name between and the LDAP server.
3. Configure Authentication Servers
We require two server types:
The default server
Local Databasewill allow users to authenticate with the user portal.The additional server
Local Database + TOTPwill be used for OpenVPN.
Go to and add the following additional server:
Option |
Description |
|---|---|
Descriptive name |
|
Type |
|
Press Save
Attention
If you set the authentication server in to the
Local Database + TOTP option, users cannot manage their own OTP tokens in the user portal without prior
help from an administrator; because they need an OTP token for authentication and might not have one yet.
Especially if you choose an LDAP variant and have a big userbase, take this into consideration if everything
should be fully automated. This is why we suggest using two authentication server types so users will be able
to authenticate to the user portal without using TOTP.
4. Configure OpenVPN Instance
Go to and add a new instance.
You can use the following section as guidance: Setup SSL VPN Road Warrior
Here are the adjustments to make in the instance configuration when following that guide:
Option |
Description |
|---|---|
Description |
|
Authentication |
|
Note
Setting the description of the instance as the prior created group name makes administration in the user portal simpler.
5. Configure User Portal
Go to and set the following options:
Option |
Description |
|---|---|
Allow OTP token creation |
|
Press Apply and go to next tab
Note
This allows any user in the user_otp_priv group to access the OTP self-service in the user portal.
Option |
Description |
|---|---|
Member of |
|
Server instance |
|
Export template |
|
Static Challenge |
|
Hostname |
The FQDN of your firewall with A-Record in the public DNS |
Description |
|
Press Save and add another choice if you want to offer e.g., Viscosity as alternative download option
Option |
Description |
|---|---|
Member of |
|
Server instance |
|
Export template |
|
Static Challenge |
|
Hostname |
The FQDN of your firewall with A-Record in the public DNS |
Description |
|
Press Save and Apply
Tip
Enabling Static Challenge will create a pop up that asks for the OTP token so that users do not have to merge it with their user password manually.
Note
You can create multiple instances and choose which group can download which configuration.
Attention
Keep the Certificate lifetime in mind. The user cannot renew their own certificate, an administrator must do it for them. Alternatively, choose a very high lifetime here that is in the range of the CA you created before. E.g., if the CA is valid for 10 years, you can set the certificate lifetime to 5 years. The long lifetime should be fine if you deploy additional user authentication with one time password as outlined in this guide.
6. Test User Portal
Now that the initial configuration is complete, test the user portal.
Check in that the Listen Interfaces are either on any, or include the interface
your users will use for accessing the user portal. Do not forget to create a firewall rule that allows access to the WebGUI from this network.
Attention
It is not advised to allow access to the WebGUI from public networks without restriction.
If you are corrently logged into the WebGUI admin, open a different browser or an incognito tab. Open the same URL you would use to log in as administrator, but instead log in with the user you created earlier (john).
You will now see the user portal as landing page. Here, the configurations you created in the prior steps will show their results.
The user will be able to change their password, generate their own OTP token, and download the OpenVPN configuration files; which also automagically generates their user certificate.
Tip
Additional users can be created by repeating the onboarding step.
7. Remove Access (Offboarding)
The prior steps outlined most of the onboarding process. Though, what should happen if the user access must be removed?
Go to and remove all Group memberships and Privileges, regenerate the OTP
seed and set the Disabled flag. After saving, the users rights will be nullified, and even if it will be re-enabled, the
user will not be able to elevate their rights as they cannot log into the user portal, or use their OTP token to establish an OpenVPN connection.
Attention
If you use an LDAP authentication server, you must deactivate the user on that server. Keep the group memberships in mind, also the current default groups you might have set.
As further step, invalidate the user certificate.
Go to and edit the CA you created for the OpenVPN instance. If there is no CRL yet, create one by setting a Description and pressing Apply.
Afterwards, edit the CA again, and select a Revocation per type, e.g., Unspecified where you choose the created user certificate. After applying,
this certificate will no longer be valid.
Attention
Deleting a certificate from the GUI will not invalidate it. You must use the revocation component to publish the revocation to the OpenVPN instance.